As mentioned in the earlier
blog for the last practice game before The Challenge my Later Hungarian army
was organised as follows.
C1 – CinC 13 E/13 E/5 D [25% = 4 EE]
C2 – Sub 21 E/17 EE/6 D [25% = 4.5 EE]
C3 – Sub 21 E/17 EE/6 D [25% = 4.5 EE]
C4 – Sub [Szeklers] 7 E/ 7 EE/ 3 D [25% = 2 EE]
Total 62 E/54 EE/ 27 B
Game
1 - Gareth
Evans – 01/25 Middle Assyrian 888 BC DBM [Terrapins]
This was a worrying army
for me to face as going into game 1 I had no idea what Gareth had chosen in his
list composition. The list allows you to take a large number of supported Bd F
and also supported Ax O. Whilst the Bd F were not so much of a worry the
potential of 22 Ax meant that there was no reasonable chance of my being able
to hold onto any areas of RGo or DGo for very long.
Gareth’s army consisted of
four commands organised as follows:
C1 – CinC 24 E/22 EE/7.5 D
[25% = 5.5 E]
C2 – Sub 24 E/21.5 EE/7.5
D [25% = 5.5 E]
C3 – Sub 8 E/8 EE/3 D [25%
= 2 EE]
C4 – Ally 15 E/13 EE/4.5 D
[25% = 3.5 EE]
Total 87 E/64.5 EE/32.5 B
We rolled for posture my
Aggression of Ag 2+1 v Gareth’s Ag 4 +5 meant a difference of 4 meaning Gareth
was the invader and he attempted to roll for a Waterway, which he succeeded and
placed it down his left side. I then decided to try and get some terrain to
break up the table top and diced for two 1.5 FE of boggy RGo both of which fell
on Gareth’s side of the table and denied me any useable terrain.
I had to assume that
Gareth would try and sweep round my flanks so I tried to cover as much of the
table as possible with my deployment whilst Gareth totally wrong footed me and
placed his Baggage next to the WW with his smallest command and his other three commands running from his central
position out to his far right flank. It was then a case of damage limitation
for me to try and survive long enough until time was called. I had deployed my
Szeklers, CinC and the central infantry command mounted troops on my left flank
which allowed me to at least attempt to concentrate some troops against his Reg
Cv S chariots. I slowly retired and kept threatening his exposed flanks as I
redeployed my CinC with his knights and archers to the left flank and
redeployed my LH into positions that I hoped to allow me to pick off the odd
element that became exposed. Despite my best efforts the Superior grading of
his chariots meant time and time again he survived despite being on the
receiving end of poor combat dice rolls as he kept pushing forward I eventually lost my CinC’s command to casualties
as my left wing became a confused mass of mounted troops each trying to outmanoeuvre
each other.
When time was called the score
was a 3 – 7 LOSS which when considering I had lost 14 elements compared to
Gareth’s loss of 4 elements made the final BHGS score 11 – 21 made me feel that
it could have been much worse. This left me in 8th place going into
Round 2.
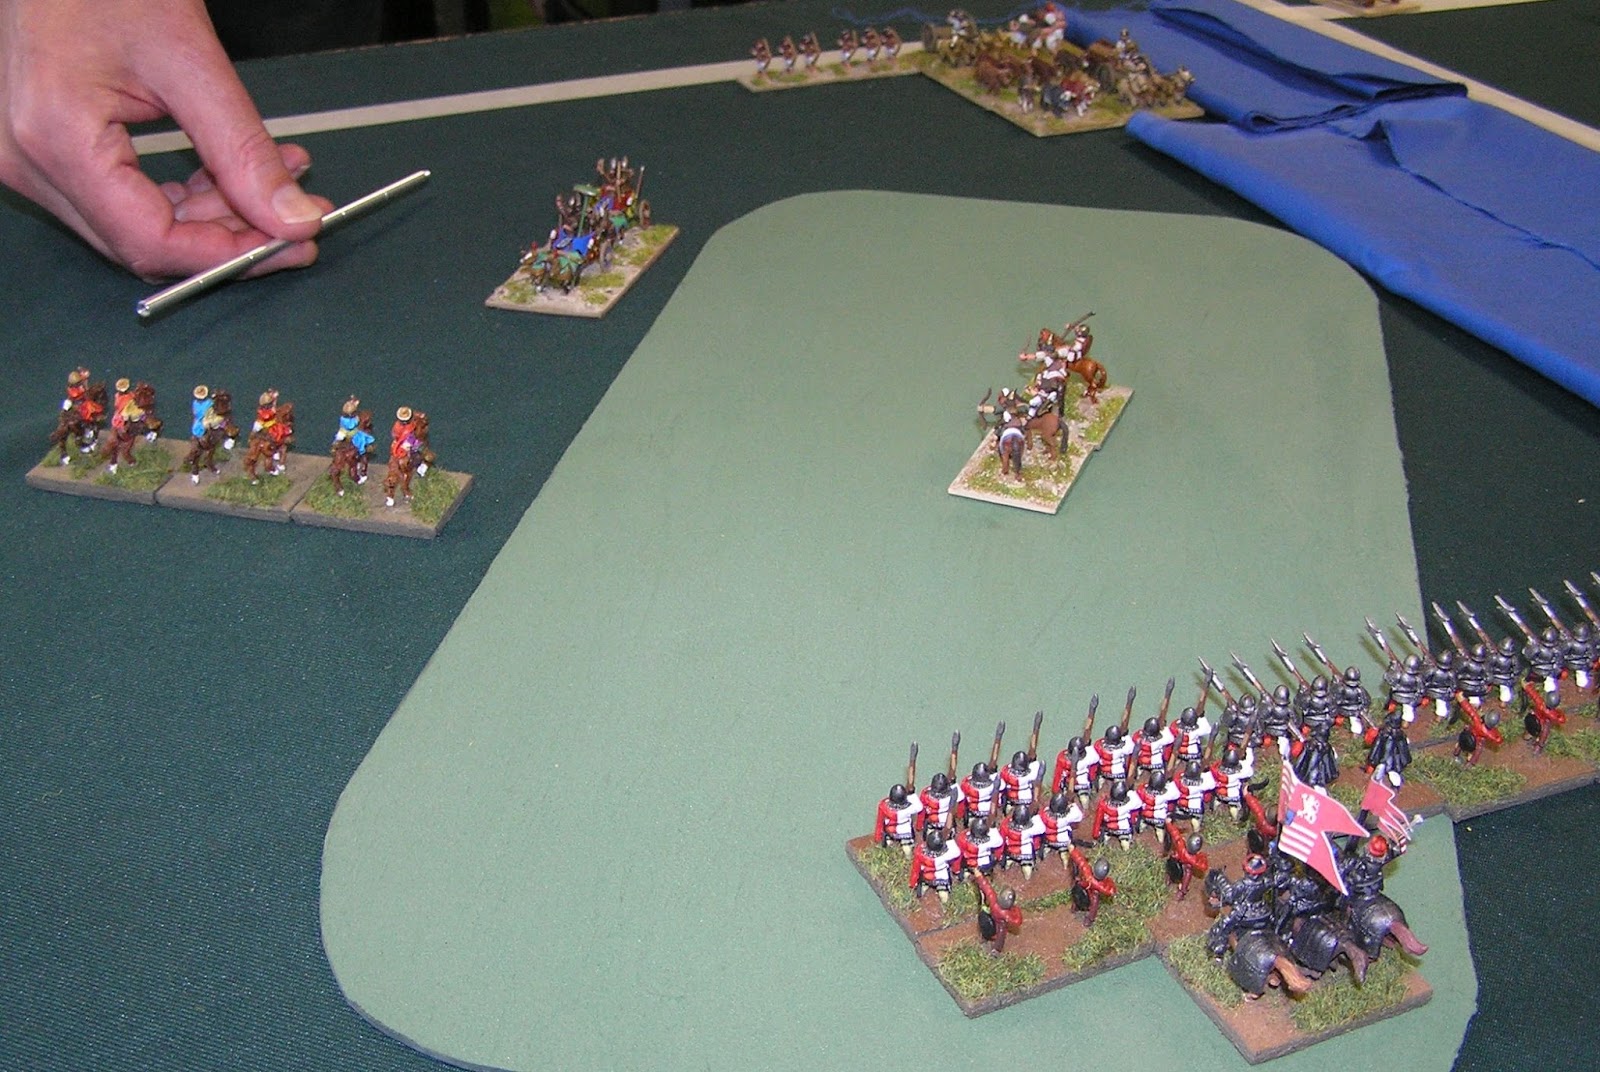
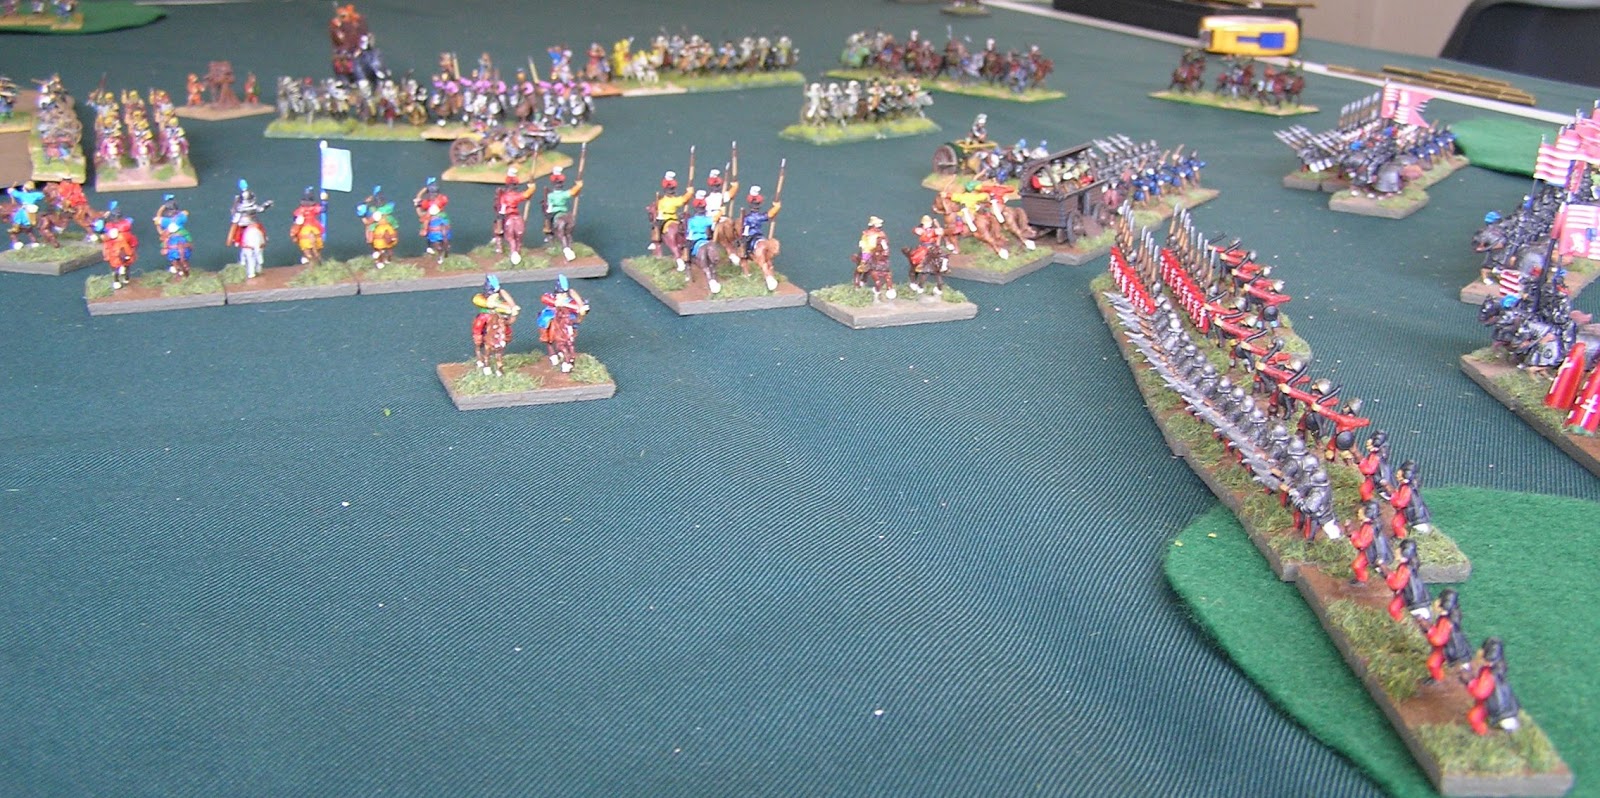
Pictures of my Game 1:
Pictures of other Round 1 games from the 15mm and 25mm tournaments.
Game
2 - John
Vaughan – 03/28 Carolingian Frankish 800 AD DBMM [CC]
This was also a worrying
army for me to face going into game 2 as I had had the chance to walk round and
spy on the other armies during game 1 and realised that John had a large number
of Reg Kn F and some Reg Cv O supports as well as 17 Warband of which four were
Superior and deployed in the front rank to take advantage of the supporting
rules for warband troop types.
John’s army consisted of
four commands organised as follows:
C1 – CinC 22 E/20 EE/7 D [25%
= 5 E]
C2 – Sub 22 E/19.5 EE/6.5
D [25% = 5.5 E]
C3 – Sub 1 E/1 EE/1 D [25%
= 1 EE]
C4 – Ally 17 E/17 EE/6 D
[25% = 4.5 EE]
Total 62 E/57.5 EE/29 B
We rolled for posture my Ag
2+5 v John’s Ag3+1 gave a difference of
4 meaning John was the Defender. He elected to place three entirely wooded hills
Wd+ H[S] = DGo which I assume was meant to try and break me up and allow him to
concentrate his attack where desired. I then diced for and placed three 0.5 FE
of Boggy RGo to prevent him placing any ambushes in them. John’s terrain
placement was quite advantageous for me as it allowed me to anchor my commands
on some solid terrain as I advanced.
I teased John that he was
corner sitting which in reality he wasn’t, he had deployed to ensure his flanks
were secure whilst he closed to the attack.His use of a single Reg Kn F general
in its own command just to generate a spare Regular PIP dice roll was very gamy
and he did apologise with a smile. I think this was a bad mistake and he would
have been better served giving it three Kn F of its own and use it as a
supporting Fire Brigade command or even as a disposable flank attacker.
I pushed forward my
Szekler command to try and envelope his outside right flank which would become
exposed as he advanced whilst I moved the CinC’s command into the gap and
expanded out my central infantry command LH in its place. I threw in the
Szekler’s to engage his now exposed right wing group of cavalry and knights and
slowly started to chew holes in this line. Losing a couple of LH in the process
but exposing his flanks. As this was going on I engaged his main line of
knights with my CinC and supporting LH and started to take out his knights for
minimal losses. Hi warband ally was closing towards my central infantry command
so I deployed them forward to ensure they would take his attack in waves. My
warwagon recoiled one column of warband as he closed meaning that I was in a
position to overlap his attack in a couple of places. It was at this time I
lost my Szekler LH general to a 6-1 dice roll and the Szeklers then broke
making the score 6-4 to John. He then threw in his warbands to try and break my
infantry command and break my army. The demoralised Szekler command caused him
massive control issues as I used them to try and draw his now impetuous troops
on his right flank all over the place. In the centre my CinC and supporting LH
were beginning to chew up his Knights and he was only two elements away from
losing his CinC’s command.
The warband hit my line,
killed a single blade and supporting psiloi and either recoiled or stood in
place across the rest of the three combats. This then allowed me to feed in
another supporting Bd+ Ps on the Wb and quickly dispatched two Wb from this column.
John then took out two Sp+Ps support in front of my subgeneral in his bound but
lost another two Wb from close combat with my WWg which was being supported by
a spare Kn S.
This was freed up because
I had managed to break his CinC’s command now making the score 6-4 to me. In my
following bound I threw in the infantry command Reg Kn O general and took out
the last two Wb I needed to break the Wb command and along with it John’s
entire army.
This made the final score
as a 9 – 1 WIN. I had lost 13.5 elements which made the final BHGS score 29 – 3
and made up for the mornings defeat. I now had a total of 40 VP and this made
me leap up to 3rd place going into Round 3.
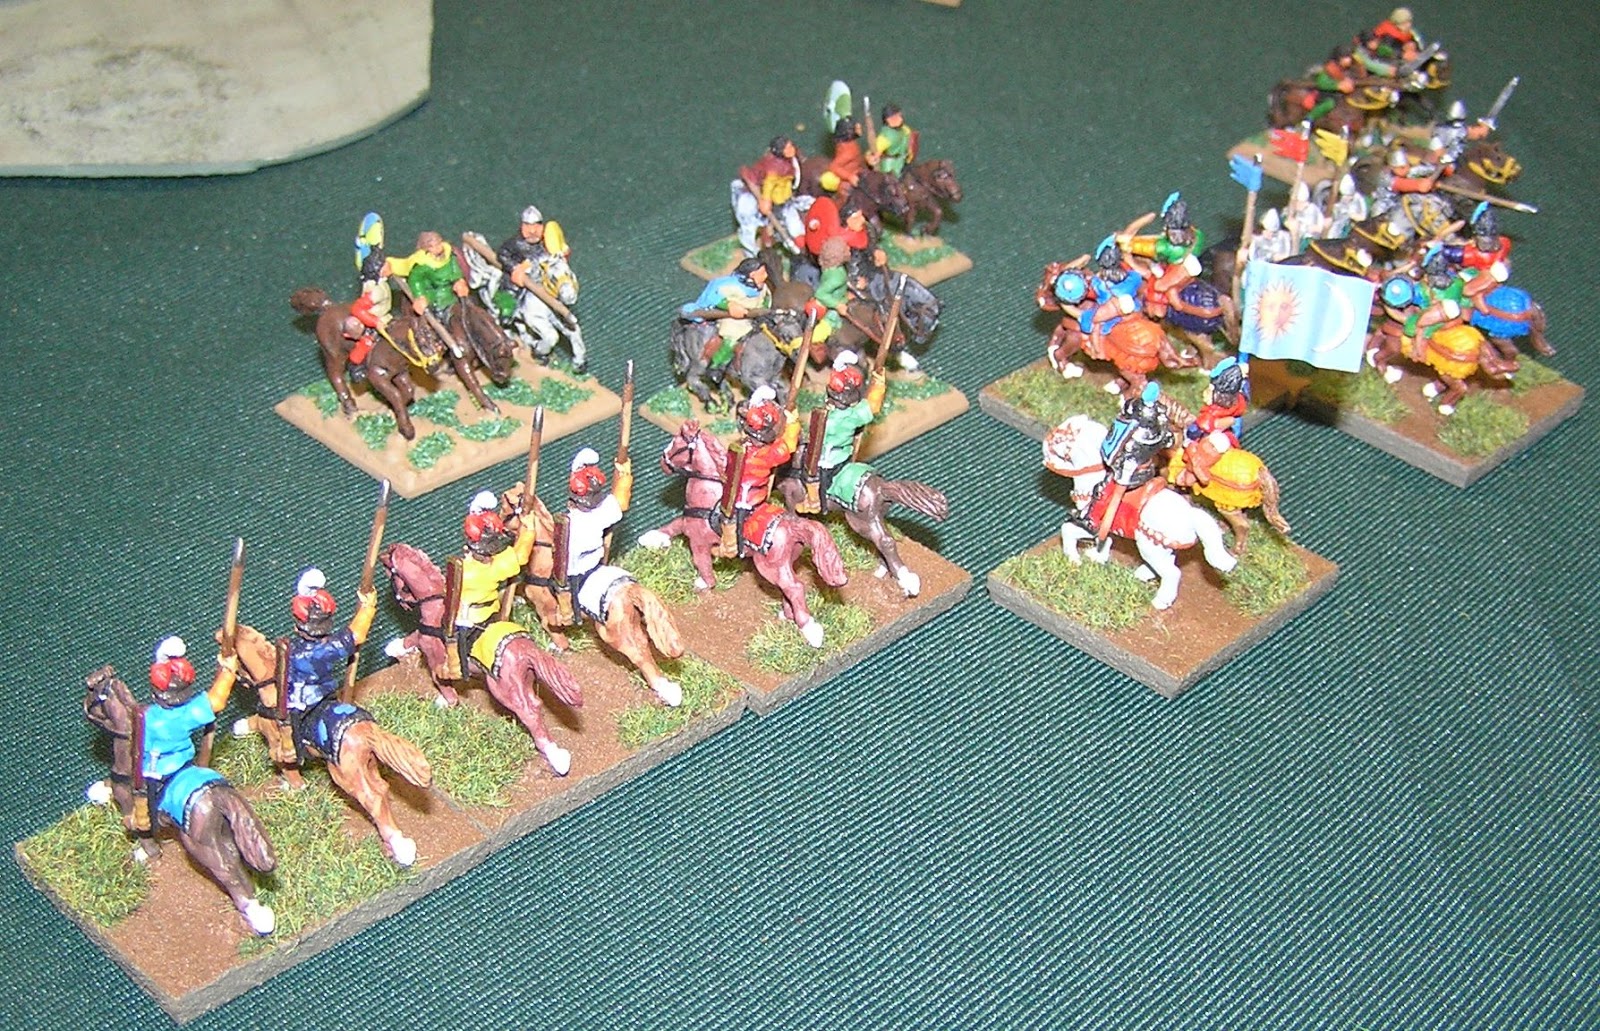
Pictures of my Game 2:


Pictures of other Round 2 games from the 15mm and 25mm tournaments.
Game
3 - Kevin
Everard – 02/07 Later Achaemenid Persian 331 BC DBMM [CC]
Having had a good chance
to observe the other Round 2 games on Saturday after defeating John’s Carolingian’s
I was horrified to read I had to face Kevin’s Persians. It had some 34 mounted
elements with only 31 foot elements. Compared to my army which only had 22
mounted elements, most of which were LH I knew I was in for a spanking unless I
adopted some unusual tactics.
Kevin’s army consisted of
four commands organised as follows:
C1 – CinC 20 E/18.5 EE/6.5
D [25% = 5 E]
C2 – Sub 20 E/17 EE/6 D
[25% = 4.5 E]
C3 – Sub 20 E/17.5 EE/6 D
[25% = 4.5 EE]
C4 – Sub 5 E/1 EE/1 D [25%
= 1 EE] [4 Expendable Scythed Chariots and a general]
Total 65 E/54 EE/27 B
We rolled for posture my Ag
2+2 v Kevin’s Ag1+4 gave a difference of
4 meaning Kevin was the Invader. He waited to see what terrain I placed.
Because of the vast numbers of cavalry he had I diced for and succeeded in
placing a Waterway with a BUA in contact with it which I placed on my left
flank. I also chose a 1.5 FE of Boggy RGo which unfortunately fell on Kevin’s
side of the table touching the central sector table edge. Kevin then diced for
and placed three 0.5 FE of Brushy RGo [Camel Friendly],. This was a ruse to try
and make me think he had chosen some camel mounted troops in his army.
I placed my Bg inside the
BUA and surrounded the BUA with the eight TF that can be used to defend the
baggage making for a small redoubt for my Irr Bw I archers to defend. I chose
to corner sit and defend in an arc between the WW and the area of RGo in the
middle of my own base line. I put the mounted troops behind the infantry and
decided to await developments.
Kevin deployed in the
opposite corner from me and placed his Scythed Chariots opposite my central
infantry command. I knew I had to act quickly created a small gap and fed out
the Szeklers and most of the other LH to try and break up the chariots and
threaten his mounted troops as they advanced towards my line. After much
dancing I had lost a single LH and had destroyed a single LH and all four scythed
chariots when time was called. I had succeeded in delaying the Persians and
survived undamaged.
This made the final score
5 – 5 which equalled a BHGS score of 16 – 16. I now had a total of 56 VP and
this put me back into 4th place going into the 4th and
final round. I awaited the other results to be fed into the draw and had no
expectation of gaining a top three place.
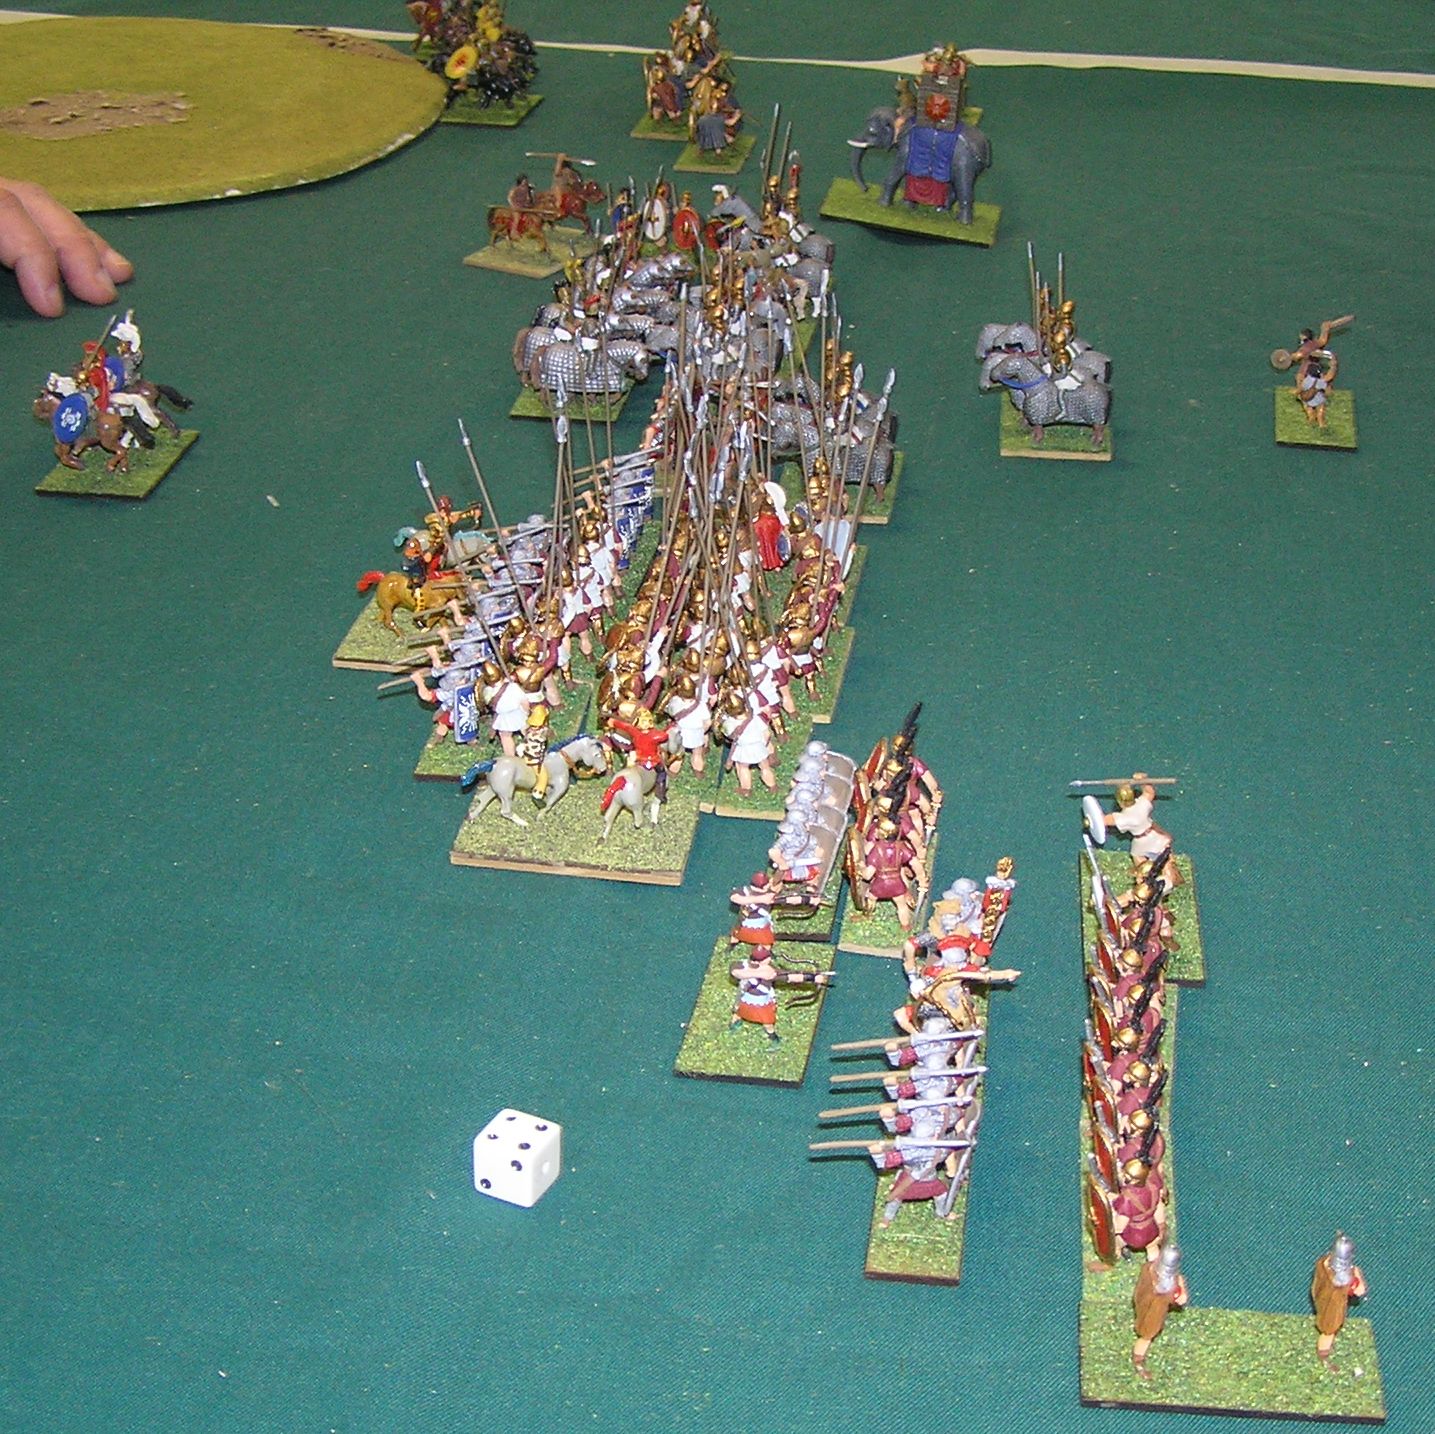
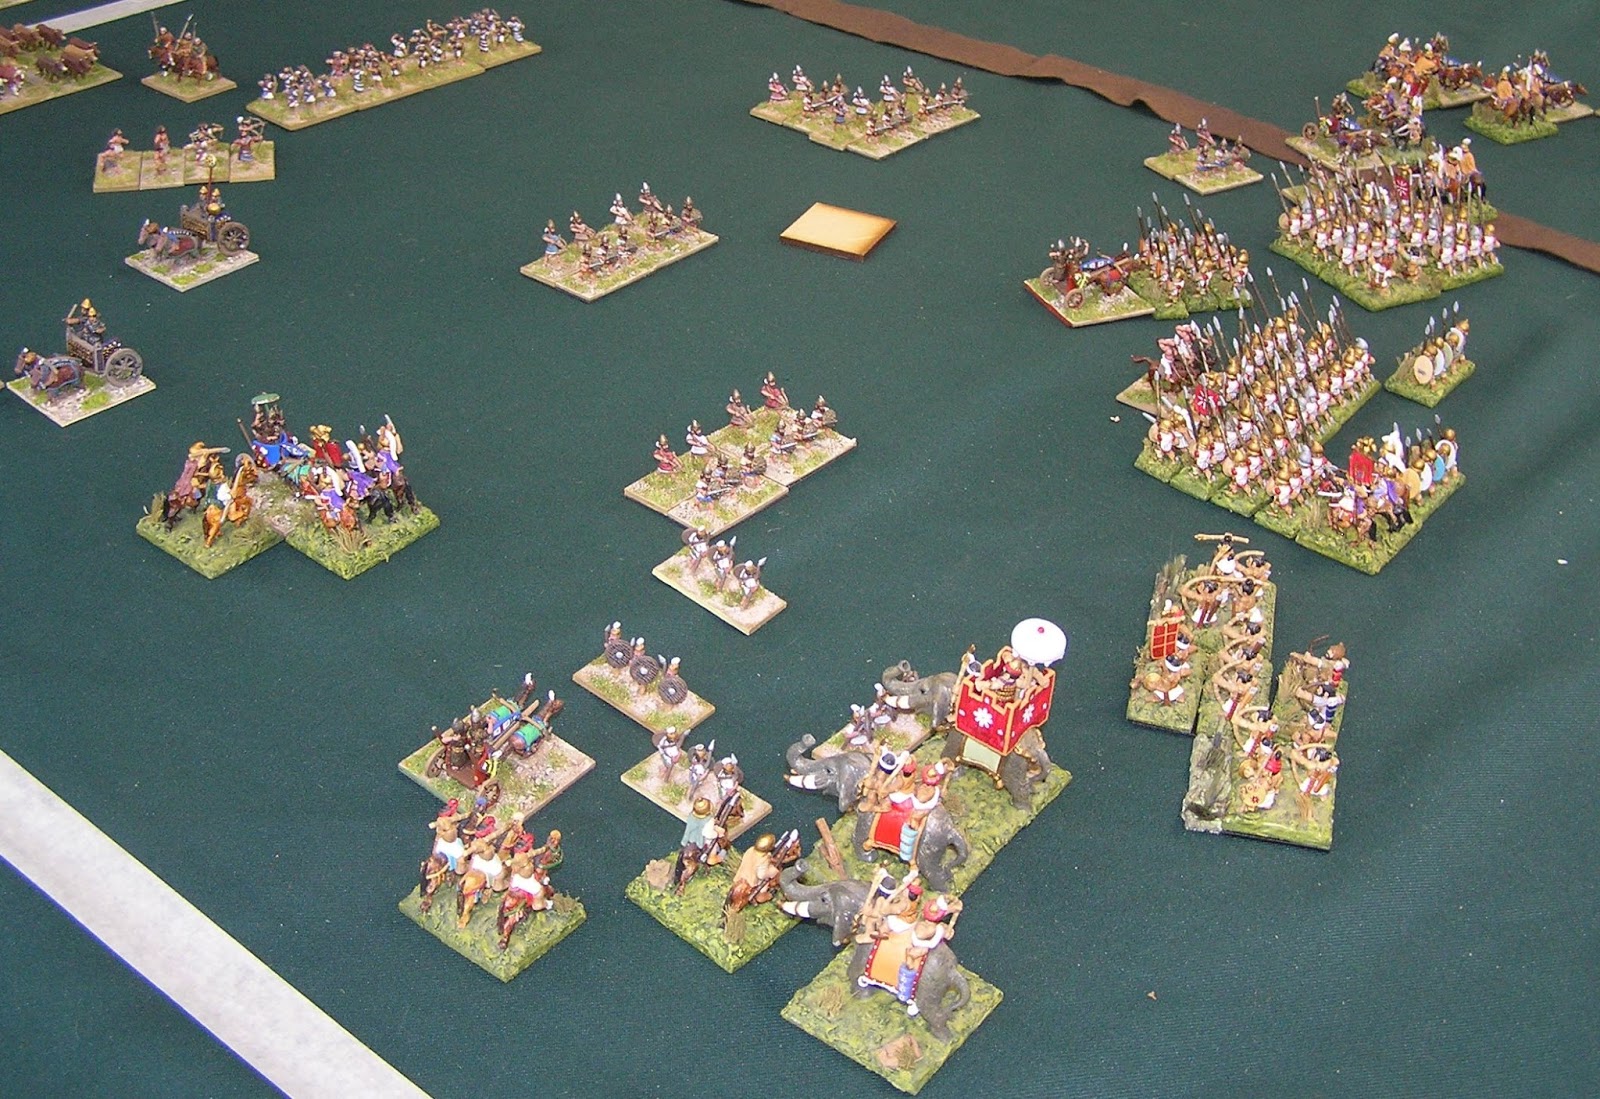
Pictures of my Game 3:
Pictures of other Round 3 games from the 15mm and 25mm tournaments.
Game
4 - Edward
Gilhead – 04/22 Serbian Empire 1341 AD DBM [Clapham]
Having seen Ed’s army in
action on Saturday I know it was just a large number of Irr Kn S Nutjobs This
game was going to be very violent and possibly quite short.
Ed’s army consisted of
four commands organised as follows:
C1 – CinC 20 E/19 EE/6.5 D
[25% = 5 E]
C2 – Sub 23 E/17.5 EE/6 D
[25% = 4.5 E]
C3 – Sub 7 E/6.5 EE/2.5 D
[25% = 2 EE]
C4 – Ally 15 E/15 EE/5 D
[25% = 4 EE] [Bosnians]
Total 65 E/57.5 EE/29 B
We rolled for posture my
Aggression of Ag 2+3 v Ed’s Ag 1+5 meant a difference of 1 making Ed the
Invader. I then diced for some patched of RGo and Ed copied me which allowed
him to anchor his right flank using the Bosnian Allies.
I placed my infantry left
and centre with the Szeklers to my far right and the CinC in reserve.
Ed’s deployment threw me
as he deployed his knights last in front of the rest of his army so it was
clear he was prepared to go for it and trust to the “Dice Gods”.
On his right flank he
heavily outnumbered my three LH F whilst I heavily outnumbered him on his left
flank. I decided the best option was to stand and receive his charge and hope
that my higher factors and mitigation made all the difference. In the mean time
I used my LH on the right to try and take out his flanks as he closed. The
knights crashed in and bounced except against a single blade where they pushed
me back as I was double ranked. I luckily took down a pair of knights due to my
spears overlapping his end element and causing that to die along with the
knight behind it. On the left of the line I lost a pair of Sp+ Ps but managed
to throw in a stray LH F into the gap which promptly took out the offending Kn
S. I hard flanked the Kn S at the end of his line with some Sp and fed in a sacrificial
Ps S Handgunner to delay one of his knights that had taken down my supported Bd’s.
I knew this had no chance of surviving but it allowed me to move over the
commands Kn O General to counter the now double overlapped Kn S. In my next
bound I managed to take out the last two Kn S to break the Serbian CinC
command. This now meant that I need to break another command to take down Ed’s
army so I proceeded to use the LH to surround his exposed archers. For
something like four bounds they refused to die despite being double overlapped
and he annoyingly 6-1 the Szekler sub-general. I had not lost any elements from
this command and since it was irregular I only needed to roll more than a 1 to
survive and of course I rolled a 1 and it then broke. I was now desperate to
try and break his last command having finally taken out a couple of archers
using a warwagon. I threw in a single LH F against the now exposed open flank
of a pair of Irr Bd and 6-1 them destroying them and breaking a second command
and with it his army.
This made the final score
as a 9 – 1 WIN and this equated to a BHGS score 29 – 3 and made up for the
mornings draw. Had I not lost the Szekler command it would have been 10-0 or
30-2. I was now on a total of 85 VP. I didn’t realise how unfortunate this was
to be until I saw the final score sheet.
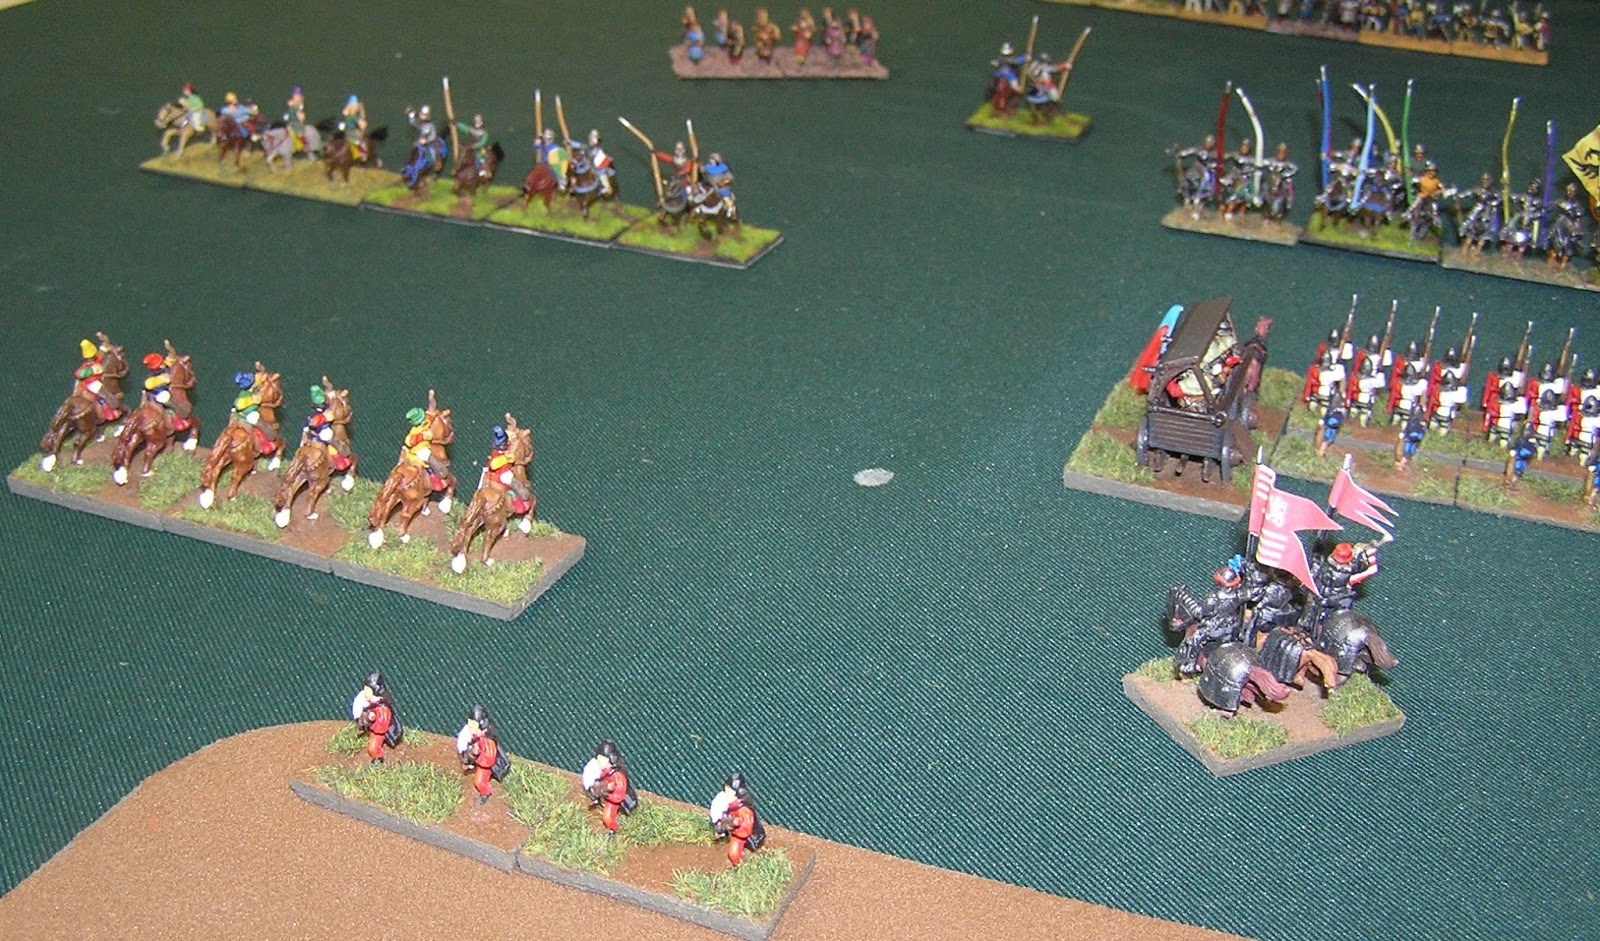
Pictures of my Game 4:
Pictures of other Round 4 games from the 15mm and 25mm tournaments.
Final Roundup.
I was on equal first place
with 85 VP tied with Kevin Everard. Tim did the tie break calculation which
confirmed that the count back scored meant I was bumped down to second place so
that single dice roll of a 1 cost me my first ever championship 1st
place.
 |
| So near yet so far! |