
Report of the 1st Game of the Tournament
Today's game involved my Low Countries taking on Peter K's Italo-Ostrogoths. The tournament format is in a previous blog but for a quick reminder its 400 AP, 15mm using DBM v3.2.
The games in the 1st round are all due to be completed by the 3rd of April 2016 and will use the 32-0 BHGS scoring system. I am the list checker so have full details of each army used. To avoid any unfair advance knowledge I will be sending my list to the relevant player I have been drawn against at the start of each round.
My army is organised as follows:
Command 1:
17 E/17 EE/6 D
Command 2:
22 E/22 EE/8 D
Command 3:
22 E/22 EE/8 D
Army:
61 E/61 EE/30.5 B
Peter's army was organised as follows:
Command 1:
25 E/22.5 EE/7.5 D
Command 2:
25 E/23 EE/8 D
Command 3:
25 E/23 EE/8 D
Army:
75 E/68.5 EE/34.5 B
Both armies have Ag 0 and after the set up roll I was the Invader with no weather effects at 8 AM.
I elected to place no terrain and waited for Peter to choose his terrain. Peter picked three Half FE of RGo and three Half FE of bare gentle hills. After he had diced for its placement I elected to place another three Half FE of Boggy RGo so he could not ambush from them. We then placed our baggage and I put down my Field Defences TF, mainly to protect my exposed left flank from a potential flank march and as a frontal screen for my compulsory artillery pieces.
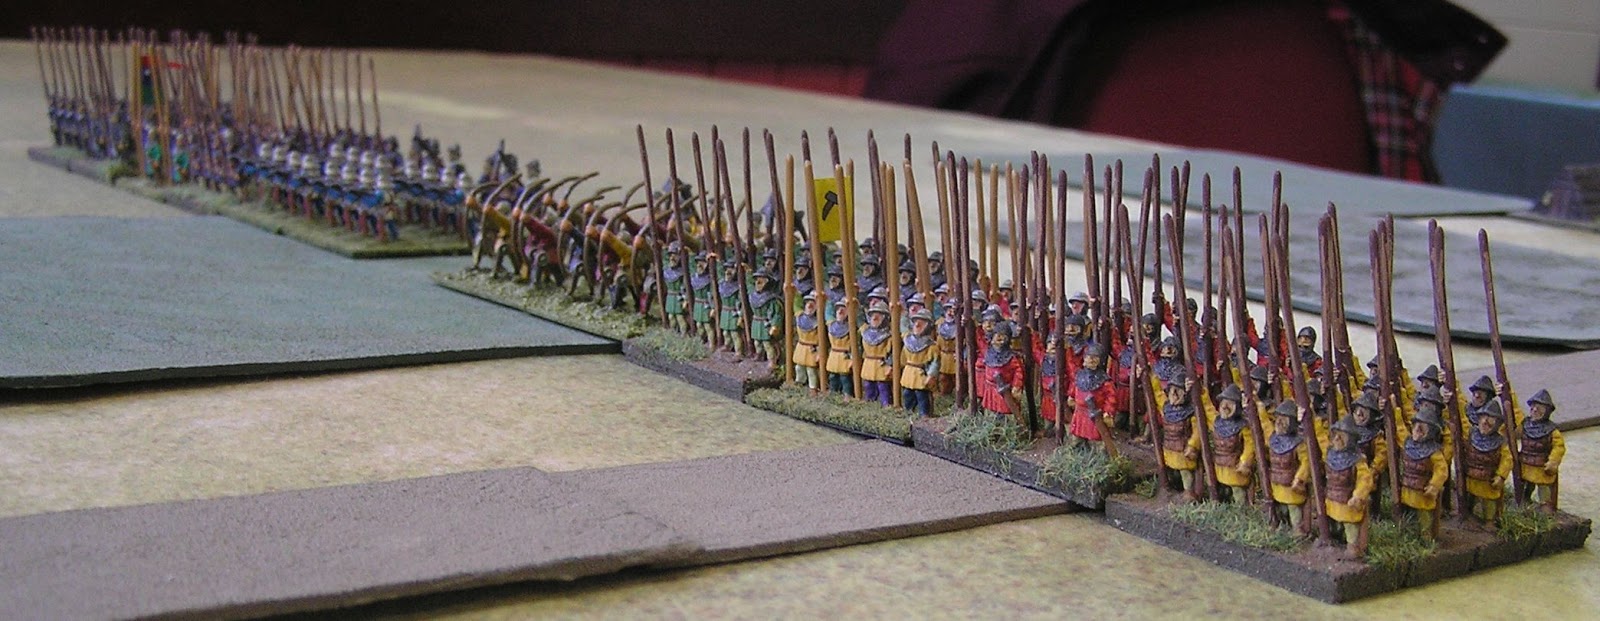
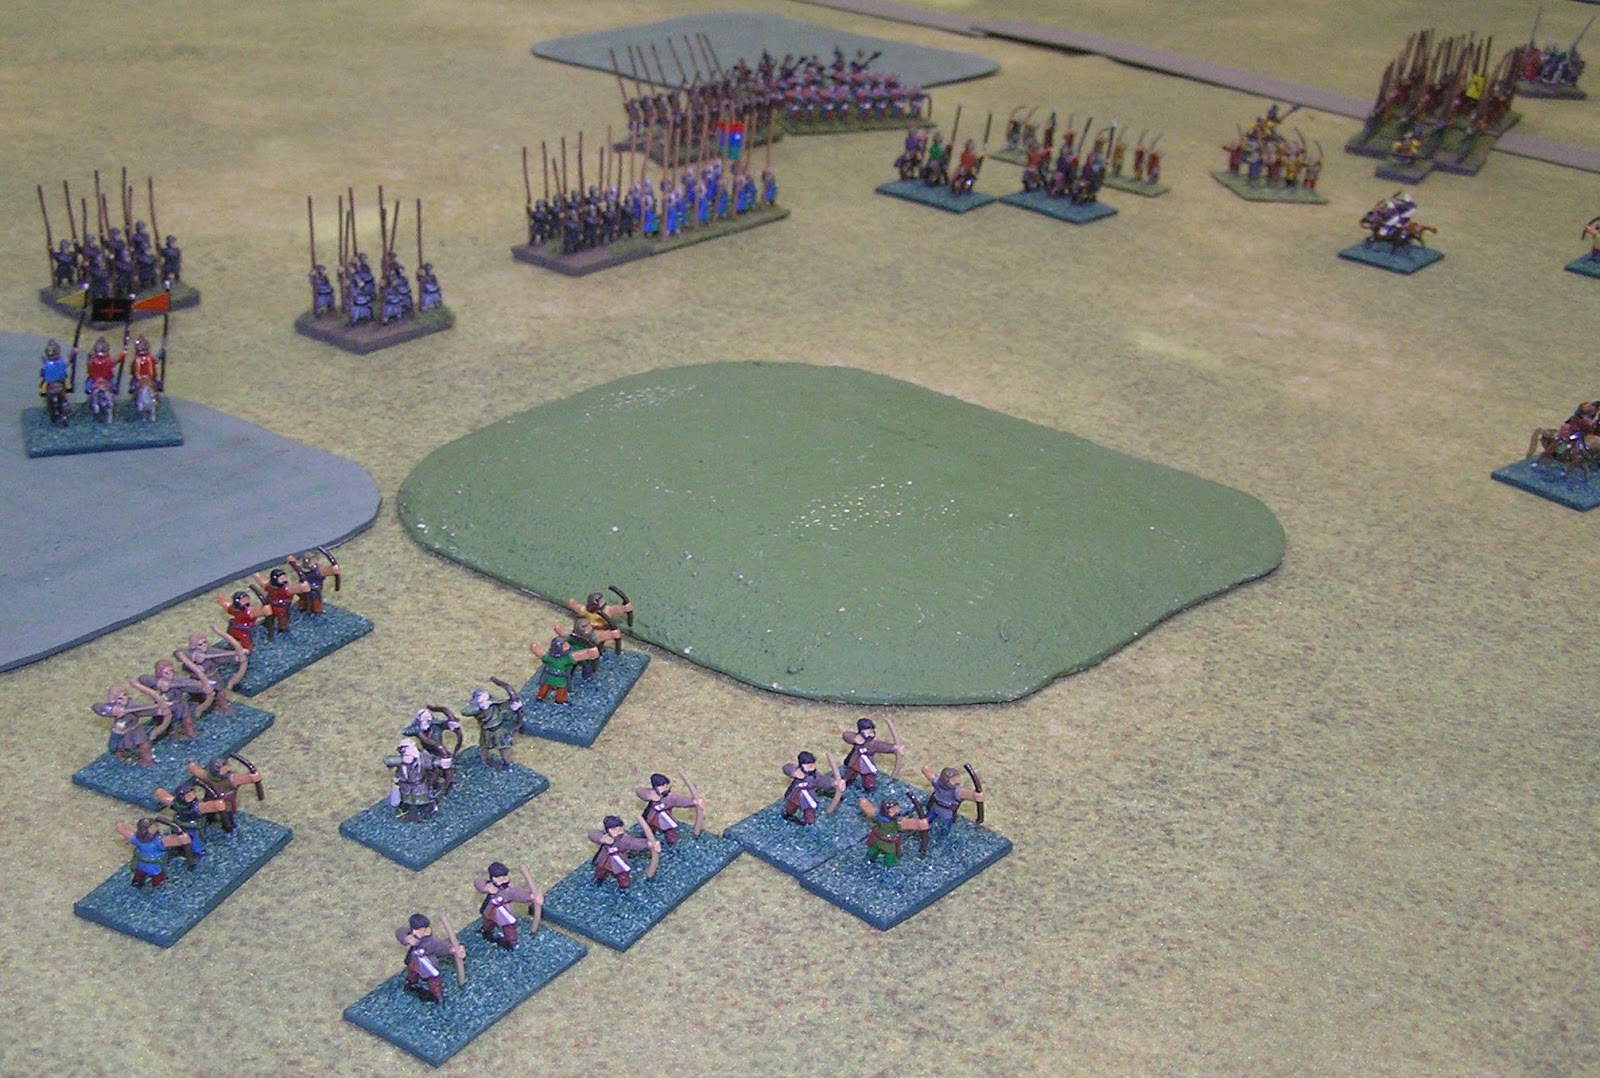
Command set up proceeded at a leisurely pace and as the Invader I got to see where his various elements ended up. Peter deployed well back for some reason which allowed me to redeploy some of my elements before he had sufficient time to close down the battlefield. Due to my inexperience using pike elements, I have never used this army before nor used pikes except for my Swiss as an allied command in my Medieval German army and once against Peter H and his French Ordonnance about a year ago. Because of this I made the mistake of deploying my right flank command pike four deep rather than spreading them out two deep to fill the game properly between two pieces of RGo. I deployed across the table in command order left to right 1 - 2 - 3 with Peter having his commands deployed opposite me in order of 3 - 2 - 1. This is shown in pictures 1, 2 and 3 below.
I rolled the first PIP dice and allocated the highest dice to the CinC command and pushed forward my Reg mtd Bw O forward as quickly as possible to attack his isolate column of Ps O on his right flank. I supported these with the Guildsmen Plancon wielders Reg Bd X. I then proceeded to thin out my right flank command pikemen as quickly as possible to correct my deployment error.
Peter then advanced to engage my pikemen on this flank but for some reason split his large group of knights into three. I continued to spread out the pikemen on this flank and anticipated a quick defeat was awaiting me. It was at this time Peter rolled a two with this command meaning he could not control all three groups. He elected to hold one group with his CinC's additional PIP and the smaller of the other two groups meaning he let six Irr Kn F go impetuous which charged piecemeal towards my pikemen in a jumbled mess. I advanced to contact them and quickly started to recoil them and killed two knights for no loss. Careful use of my regular bowmen also enabled my to start sniping off odd elements of knights from the flanks which started to cause his casualty count to rise quickly across the front of the army. Another couple of bounds and I had broken the CinC's command for the loss of just two pikemen.
More sniping on the other flank allowed me to accumulate more fast knights in Peters dead pile. I was quite near to breaking his army so decided to throw in my Reg Kn I Guild troopers against his inferior archers to try and force the decision. This didn't work well for me and I lost one knight. It was at this time I shot at and killed another knight. I didn't realise that this isolated knight was in fact the general from Peters right flank command and this raised his casualty count to 6 EE at the end of my bound. It meant that Peter was not able to save his command being impossible to roll more than 6 on this commands PIP dice so the command broke taking the entire army with it. The final score was 10-0 to me which when the percentage of casualties I had taken, 3 EE out of 61 E, meant I had lost less than 5% of my army to 100% of Peters giving my first ever 32-0 victory.
Once thing became clear to me that unless I intend to just sit back and let the other player take the initiative every turn placing any elements behind TF means they are virtually useless except for denying ground to the enemy in that locale. The four artillery I took were compulsory and unless facing elephants or warwagons meant they were of limited utility in this particular game.
Below are the pictures I took during the course of the game, some are a bit blurry but they give a clear indication of how the battle progressed.


No comments:
Post a Comment