
Parthia Invades And Runs Away
Yesterday
I put together a Parthian army list. 400 AP using the DBM v2 list as amended as Peter K from the club wanted another practice game using his tournament
army as he is almost certain to fight Richard’s Parthian’s with the honour of
avoiding the Wooden Spoon.
 |
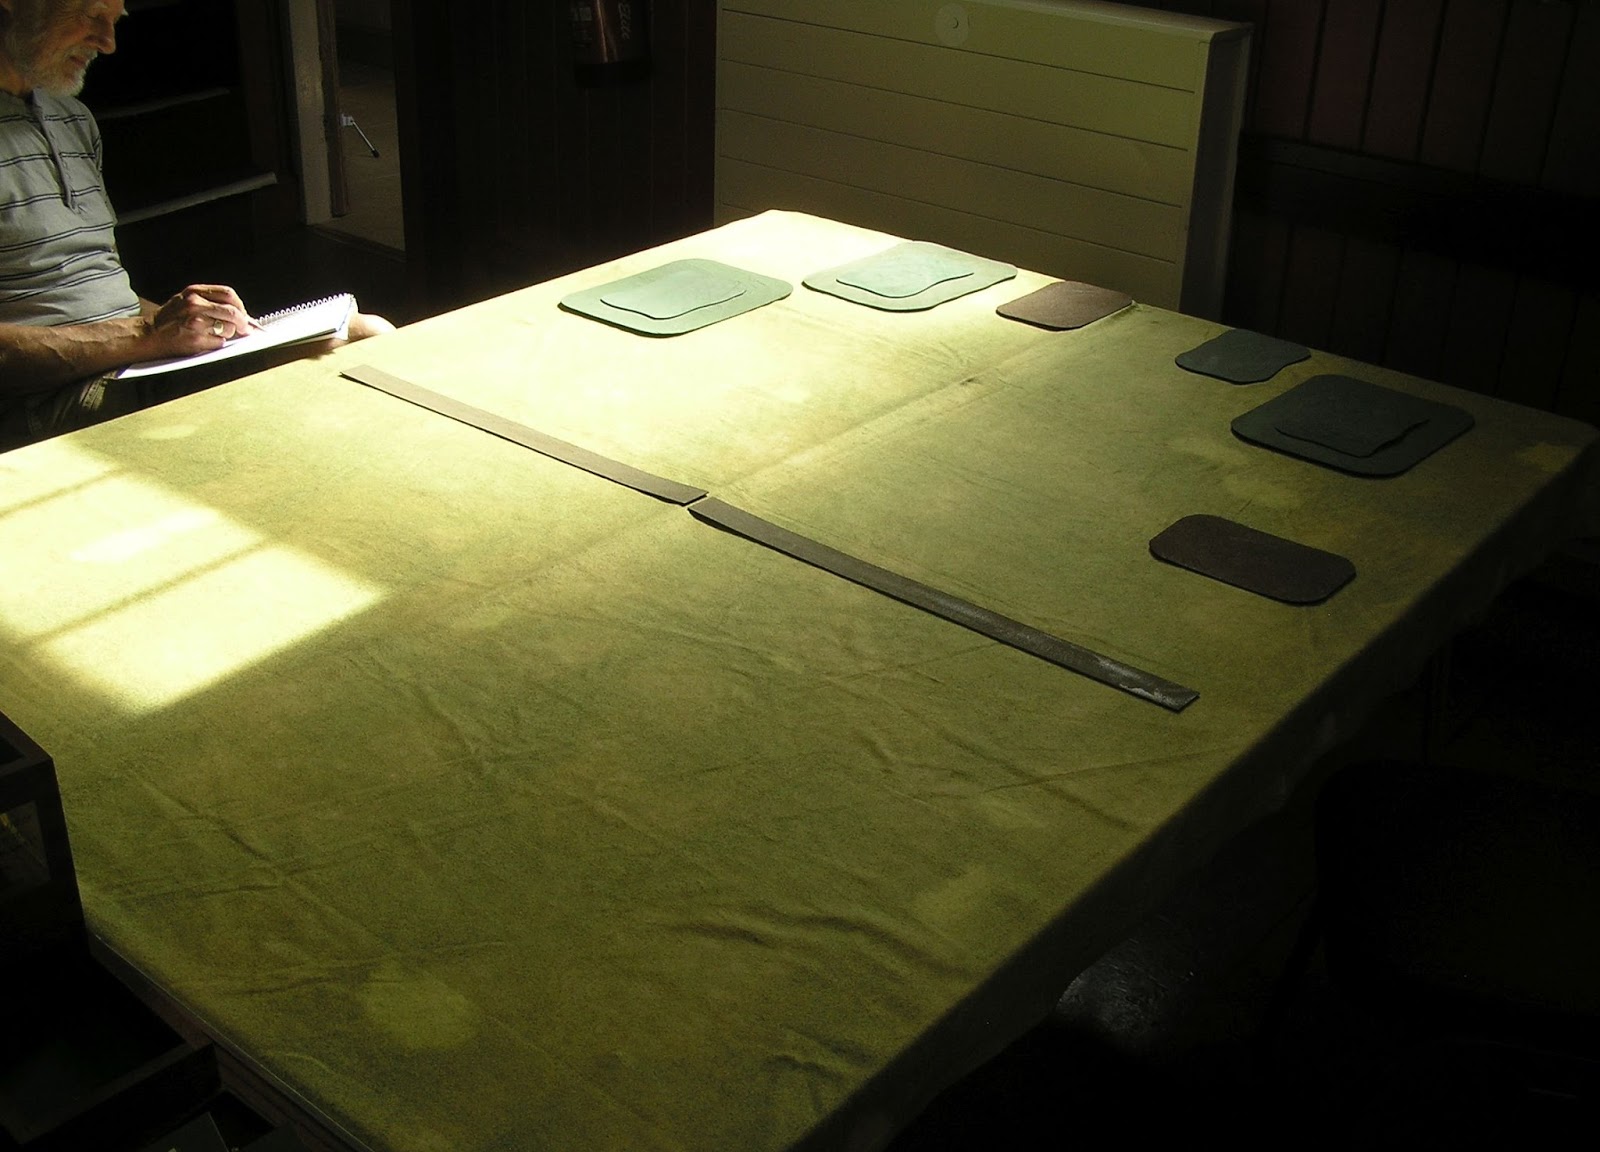
| Greek Town Dwellers taken from my Attalid Pergamene Army |
I
have not used Parthian’s before and as tournament list checker I knew Richards
list and although Peter had seen the army in action I felt that it would be
unfair to use Richards list, plus, although I did advise Richard on its
composition I didn’t like his list and felt that it wasn’t well balanced.
Whilst not giving too much away Richards’s list has a Hatrene ally with some Irr
Cm S troops. Whilst I knew I would be fighting Italo-Ostrogoths and as list
checker knew Peter’s army composition I had already fought it in the 1st
round so felt I didn’t have too much of an advantage so designed a list that I
felt I would be happy to try and take on any army in a tournament setting and
would also give Peter a hard game.
My
army consisted of four commands including the now ubiquitous Later Pre-Islamic Ally.
C1
– CinC 25 E/20 EE/7 D [25% = 5 EE]
C2
– Sub 25 E/20 EE/7 D [25% = 5 EE]
C3
– Sub 25 E/20.5 EE/7 D [25% = 5.5 EE]
C4
– Ally 7 E/7 EE/3 D [25% = 2 EE]
Army
82 E/ 67.5 EE/34 B
I
ended up invading and elected to wait and see what terrain Peter chose and
where it fell before trying to place some terrain. On reflection I should have
gone for the Rd and 3 FE of entirely steep hills available to me. All of the
terrain fell around the edge of the table and to once side which made for an
open table.
Peter
deployed his commands Sub, Sub and CinC [his L-R] and I deployed mine as
Ally, CinC, Sub and Sub [my L-R]
Peter
deployed in echelon which I felt wasn’t the best of deployments because it allowed
me to attempt to pick off his commands using a concentrated attack and
overlapping his ends of commands. Well that was the plan.
I
closed to attack his CinC’s command on his right flank using my own CinC’s
command along with my Bedouin ally. The Camels just seemed to sweep all before
them with Ostrogoth knights dropping like flies. My CinC’s cataphracts were
busily dispatching more knights from the same command to bring them close to
breaking point and widely broken up and out of control.
It
was at this time I attacked his mitigated Irr Sp I with my cataphracts from my
second command and quickly took off two columns of adjacent spearmen opening a
huge gap in his command. Unfortunately I had now exposed them because his
placing of a block of Irr Bw I had caused my covering Horse Archers to flee
away. Peter then used a lone Irr Bw I to turn the flank of the now exposed cataphracts
and of course then rolled 6-1 to take out both of them, one of which being this
commands general. I did feel a little unlucky with this combat roll as the
cataphracts count as S v Bw and I only needed to roll equal to Peter to survive
and if I had rolled one higher would have dispatched the lone Bw. I needed to
roll higher than 3 to survive and of course rolled 1 to lose this command. This
marked the transition from winning to losing. I then managed to get the last
elements required to break his CinC’s command to go back to winning the game. My
now broken command was causing all manner of command and control problems for
Peter in the centre as he attempted to stop his troops chasing after me.
I
now got the last two elements from Peter’s CinC command to break that and leave
my path open to try and turn his open flank and take out his central command and his
baggage using my Bedouin ally.
Sadly
it was not to be as Peter used his third commands Bw I to break up my Horse
Archers and his superior numbers knights to break up by cataphracts and whilst
I tried to keep my general out of trouble long enough to allow me to get into
his baggage he finally used his superior numbers to take out the general which
was the sixth element from that command meaning that I could not save it in my
next turn so the command and along with it the whole army then broke.
Peter
had lost his CinC’s command which made the final DBM Score 7 - 3 to Peter. Which
converted to a BHGS Score of 23 – 9 because Peter had lost 40% of his army. I
was very close to winning and would have got into his baggage the next turn
which meant that I would almost have certainly broke his army had I lasted a
bit longer.
The
game lasted just over 4 hours and 30 minutes and went from my viewpoint, Winning
to Losing to Winning to Lost and was a hard fought battle from a gaming point. Peter
fought a very good battle and I can see improvements in his method of play
every time we play. During the middle of the game Peter ended up rolling a 2 on
his central command and lost sight of his aim and could not make a decision as
what he should do. I tried to answer his questions fairly and give him options
when he asked about what would happen if I did this or that. After about 15
minutes of him thinking Tim came over and made a noise and I then said that
this is a practice game and explained to Tim what Peter’s dilemma was and said
I was more than happy for him to give some advice to Peter on how to get out of
this particular situation. It would have otherwise involved him losing control
of his Irr Kn F in the centre and possibly exposing them to destruction in
detail in the following bound. Likewise there was a later situation when I
suggested that Peter might consider just forming column to maintain some sort
of control whilst keeping his Kn safe at the same time.
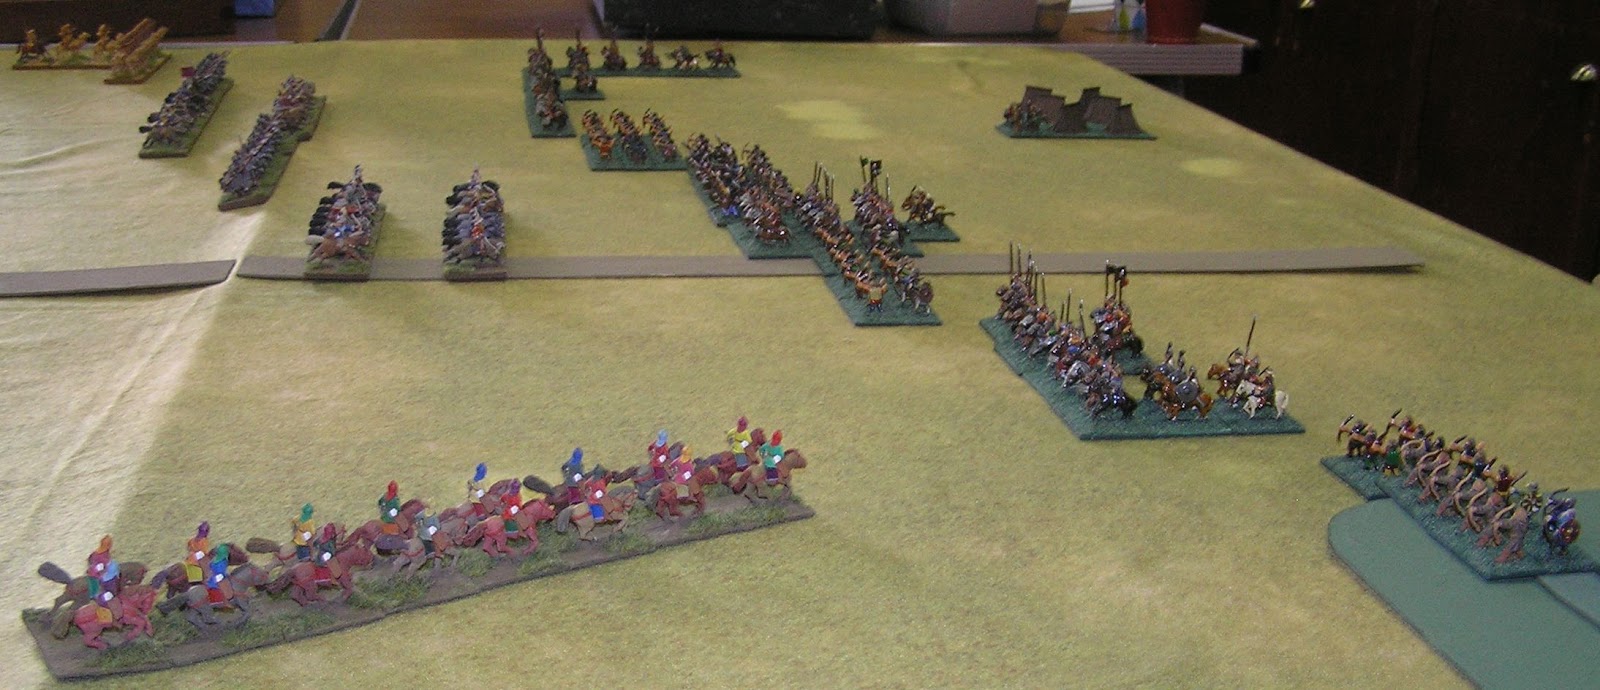
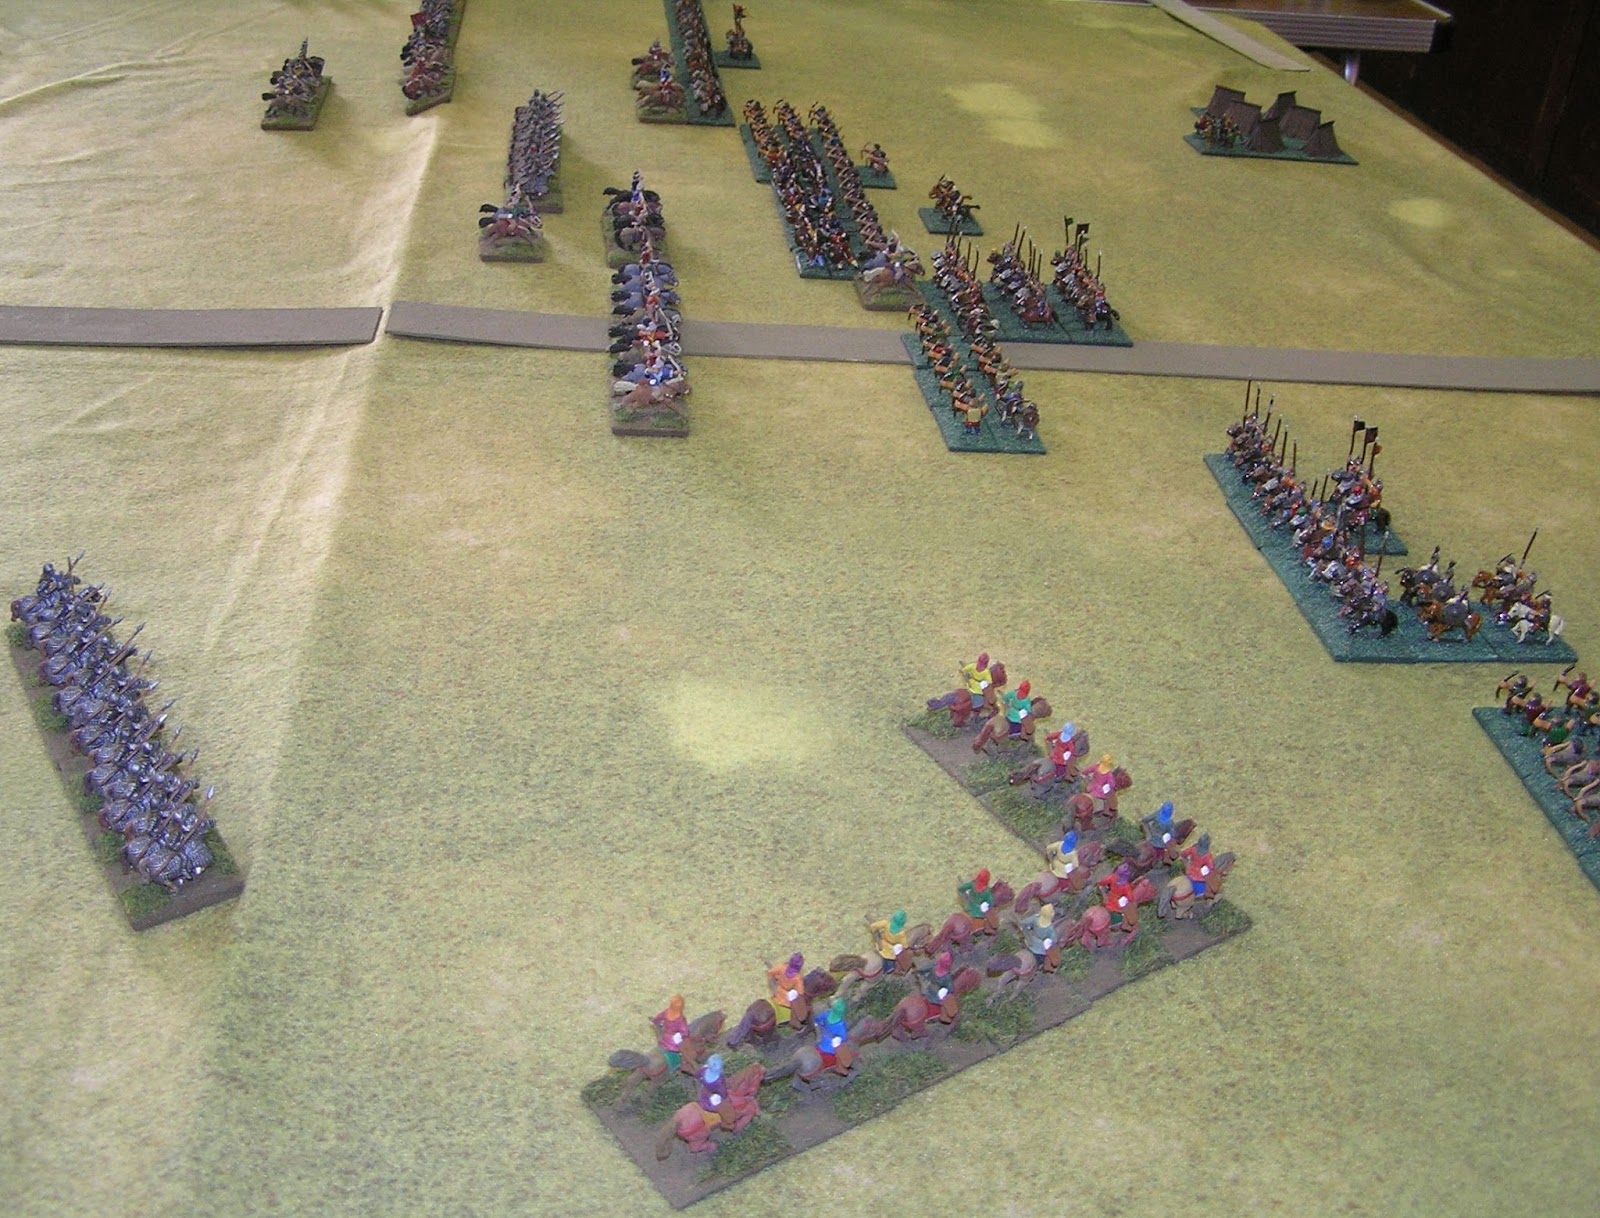
Below
are some pictures from the game which show the initial deployments and progress
up until just after I had broken his CinC’s command.


No comments:
Post a Comment